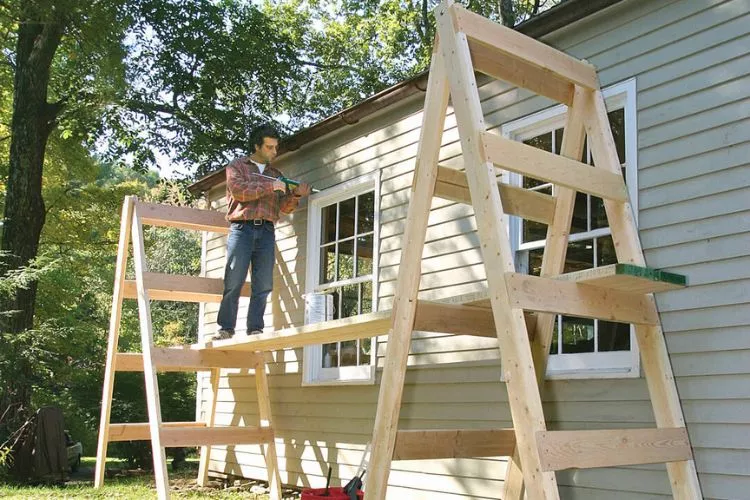
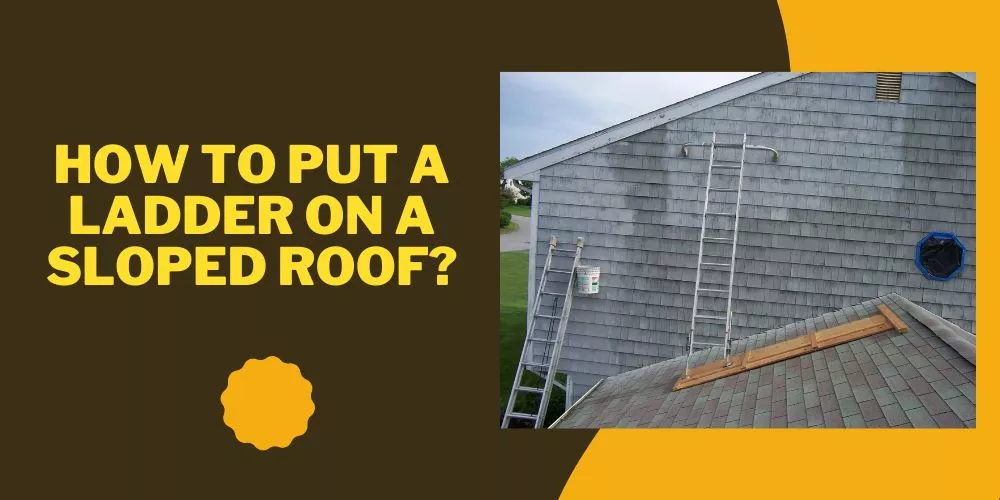
Successful construction or renovation projects require effective tools, including a ladder scaffold. A necessary safety asset, ladder scaffolds provide an elevated stable platform to work comfortably at heights.
This article teaches you how to make scaffolding with ladders, ensuring you can work effectively and securely. Take control of your next project with this easily implementable approach to scaffolding.

Quick Recommendations
No products found.
how to make scaffolding with ladders?
Learning the process of how to make scaffolding with ladders can seem daunting. However, we break the process into manageable steps, to help you build a safer, more efficient workspace.
Materials Required:
- Two ladders
- One 2x10x12 foot piece of wood
- Two 1x3x12 foot pieces of wood (optional)
- Clamps or straps for securing the ladders
- A spirit level

Procedure:
- Select Suitable Ladders: The first step requires choosing two durable and sturdy ladders of identical height and style—the more alike, the better. Consider their weight capacity and ensure they can safely support the combined weight of a person, tools, and possible material loads you plan to haul onto the scaffold. A good rule of thumb is to choose industrial-grade or construction-grade ladders constructed from solid metal or fiberglass.
- Position the Ladders: Next, position the ladders so they face each other at about 10 feet in between. This space depends on the length of your wooden plank. Also, the surface where the ladders sit needs to be flat and firm. This could be a concrete surface or solid ground. Double-check for any uneven spots and even them out or relocate the ladders if essential.
- Level the Ladders: With assistance from a spirit level, ensure both ladders stand straight. Both horizontal and vertical alignment is crucial. When placing the spirit level on the steps, the bubble should rest between the two lines marked on the tube. If it doesn’t, adjust accordingly using the ladder’s adjustable feet or levelling the ground underneath.
- Install the Plank: Carefully position the 2x10x12 foot wooden piece lengthways over the topmost steps or rungs of both ladders. Find the equilibrium point where it’s balanced and extends equally on either side of the ladders. This might require a few tries and adjustments to get right.
- Ensure Platform Stability: Grab your spirit level and place it on the wood plank in several spots—both lengthwise and crosswise. The platform must be completely level to avoid any unsteady or sloping surface leading to accidents. If the plank seems uneven, adjust it or the ladders until it’s leveled.
- Secure the Plank: It’s time to ensure the plank won’t shift or slide. Secure the wood to the ladders using robust industrial-grade clamps or durable straps. At least two clamping points per ladder are recommended. This is a crucial part of the process as the level of safety when using the scaffolding will directly depend on this stability.
- Install Guard Rails: If you desire additional safety measures – and it is highly recommended that you do – install guardrails. Take two pieces of 1x3x12 foot wood and firmly attach them along the length of the platform higher up on each side, subsequently serving as protective rails. Guardrails can prevent you from inadvertently stepping over the edges, or tools from slipping off the platform. Note, these rails need to be secure, not interrupt workflow, and not present a tripping hazard.
- Confirm the Stability: Finally, thoroughly inspect your newly made ladder scaffold. Apply small force to each ladder, mimicking the shaking caused by climbing or movement. Look for any shaking or instability; if you can detect any weak points or potential issues, address them immediately.
Remember, all fasteners should be well-tightened and secure. All components – ladders, planks and guardrails must be in good condition. Only when you are confident that it is entirely safe, can you begin to use it for work.
Each of these steps calls for careful attention. The more meticulous your preparation, the safer your ladder scaffolding will be. Safety is paramount when working at heights; hence, be patient as you create a secure and sturdy work platform.
Frequently Asked Questions (FAQs)
Can you use a ladder as a scaffold plank?
No, using a ladder as a scaffold plank is unsafe or recommended. The design and structure of ladders varies significantly from scaffolding planks, resulting in major safety hazards if used inappropriately.
Does OSHA allow ladders on scaffolds?
Yes, OSHA only allows ladders on scaffolds when attached and used correctly. However, OSHA requires that all access points have stairs or ramp access if the scaffold’s platforms are over 2 feet high.
How much weight can a ladder hold horizontally?
The weight a ladder can hold horizontally depends on the type and strength of the ladder. Most ladders are designed to hold up to a 75kg person along with additional load of 25kg, but should not be used as planks or beams in a horizontal position.
What is the OSHA violation for scaffolding?
A major OSHA violation for scaffolding includes not having standard guardrails on all open sides and ends of the platform, not having proper access to the scaffold, and exceeding the permissible load capacity.
What is the 3 to 1 rule in scaffolding?
The 3 to 1 rule in scaffolding refers to the height ratio to base width. For safety, this rule states that the height of a freestanding scaffold should not exceed three times its minimum base width without additional support.
Conclusion:
Creating scaffolding using ladders requires careful attention to safety standards. While ladders can function as access points, they should never be used as scaffold planks.
Pay close attention to weight limits, base width, and height ratios, and always ensure guardrails and proper access points are included. Adhering to these guidelines will ensure a safe and secure scaffold system. Always prioritize safety to prevent potentially dangerous situations.


